Living Small Series: The Kitchen
Over 8 years ago I started a blog series called Living Small. I shared our experience living in an 1,100 sq. ft home with six people. This post highlights how we made the most of our small kitchen and dining room.
Six months after my husband and I got married, we purchased a 100 year old home that had the sweetest character to it. It was 1,100 sq ft. in size and had two bedrooms and 1 bathroom. We brought four babies home to that house and maximized every inch of the space. I learned very quickly that you don’t need a lot of money or space to make a home feel cozy and inviting. I hope this blog series inspires you to create a cozy home for your family with what you have on hand. Less is best (as my mom always said)! There is something so special about repurposing old furniture, thrifting pieces instead of purchasing new and learning to be content with what the Lord has given you.
Below I’ll share a little tour around our small galley kitchen and dining room.
The Kitchen
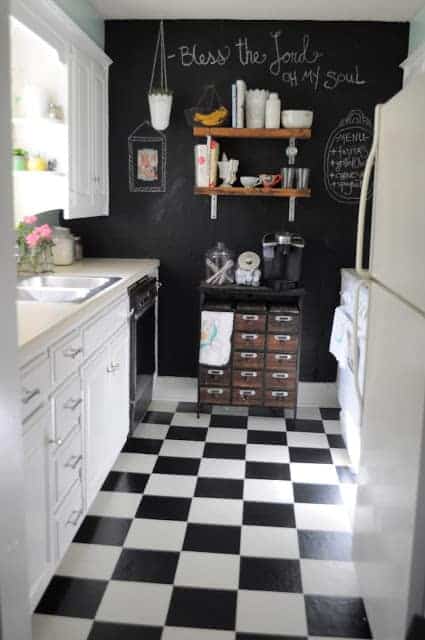
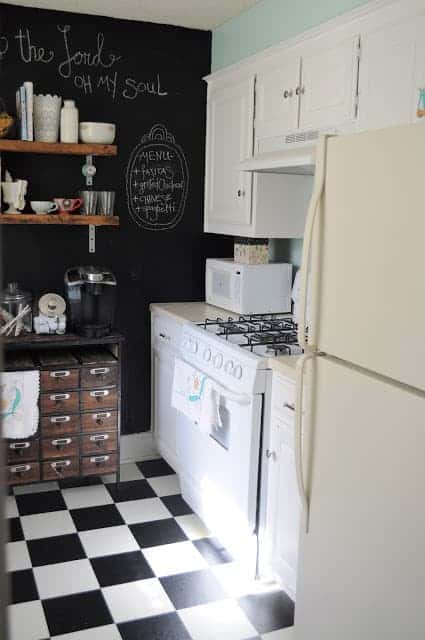
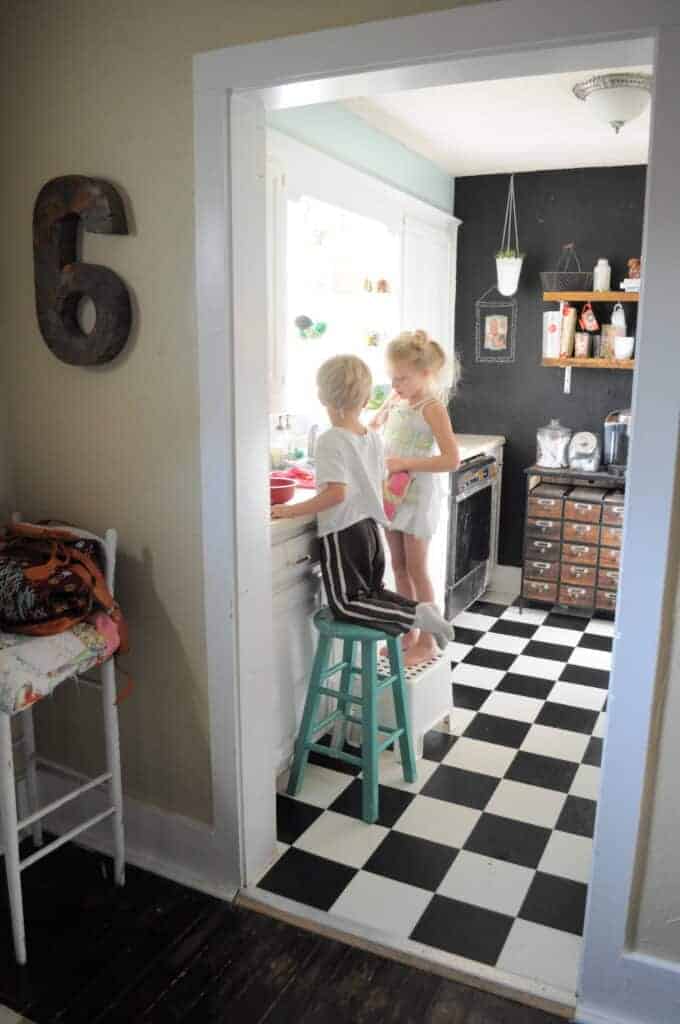
We had a tiny galley style kitchen that packed a punch for the size. We made the most of the cabinet space and kept just enough of what we needed. Here are a few tips for living in a small kitchen.
- Dishes/Silverware/Cups: Only keep the exact amount of dishes and silverware that you will need. We had six plates, six bowls, a small stack of cups and just enough silverware for the six of us. If I knew we were having company over, I would make sure to have paper plates on hand. Having just what we needed kept the kitchen from feeling cluttered. It also made washing the dishes a breeze. For my coffee mugs, I splurged and bought two beautiful mugs from Anthropologie. I stored them on the tiny open shelving.
- Pots/Pans/Baking Items: Keep only what you need as far as these items go. Chances are you don’t need multiple 9×13 pans. Figure out what you will practically use, then donate the rest. The same goes for measuring cups, mixing bowls and storage containers. Only keep what you will use on a weekly basis. If you don’t need four big mixing bowls in a week, then donate three. Keep only what you need!
- A Place for Everything: one of my biggest tips would be to make sure that every item has a place. If you are living with less items, then you should easily be able to find an assigned spot for it. What I discovered is that when there wasn’t an assigned spot for something, it made the kitchen feel small and cluttered. But when everything was tucked into its designated place, the kitchen felt spacious and roomy.
Add Special Touches for Character
My favorite part about having a smaller kitchen is that it’s easy to bring charm to the space by adding in a few special touches. Here are a few ways I added character and charm to our tiny kitchen:
- Chalkboard Wall: this was an inexpensive way to add a little creativity to the wall in our tiny kitchen. I loved updating our menu for the week and also including a Bible verse I wanted to dwell on.
- Open Shelving: we built two simple open shelves using wood that was in our shed and L shaped brackets from Lowes. Having these shelves brought instant charm because I was able to add some of my favorite items (including those two treasured Anthropologie mugs).
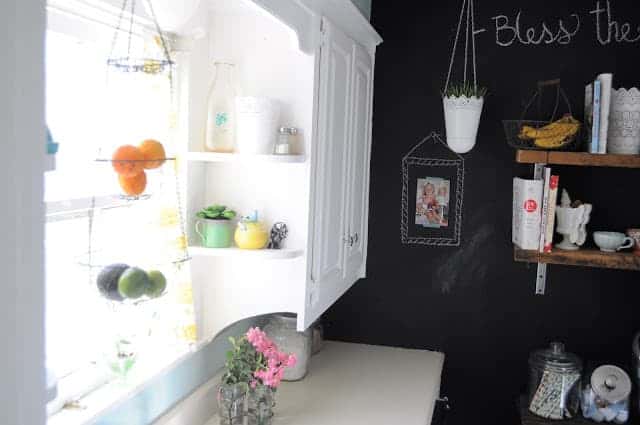
- Sew A Curtain: our tiny kitchen had a sweet historic window with built in shelves on either side. I made a little curtain out of a vintage bed sheet and some pom pom trim. All things that I had on hand at the time. It added some sweet character!
- Tea Towels: I had several handmade tea-towels that my great-grandmother had made. Displaying them around my kitchen was an easy way to to add a touch of charm.
- Cook Books Displayed:cookbooks are so beautiful these days! Add a stack of your favorites to an area in your kitchen. Not only are they useful, but they make the space feel cozy.
- Plants: little potted succulents instantly add charm to any space. I loved adding succulents around my kitchen in tiny dishes.
I hope this gives you a few ideas on how you can make the most of a tiny kitchen! When we lived in this home, we didn’t have a big budget to spend on extra things. Being resourceful, thinking outside the box and learning to be content with what we had was the name of the game in this house. And you know what- it is still my favorite little kitchen that I’ve ever cooked in. So many special memories were made here.


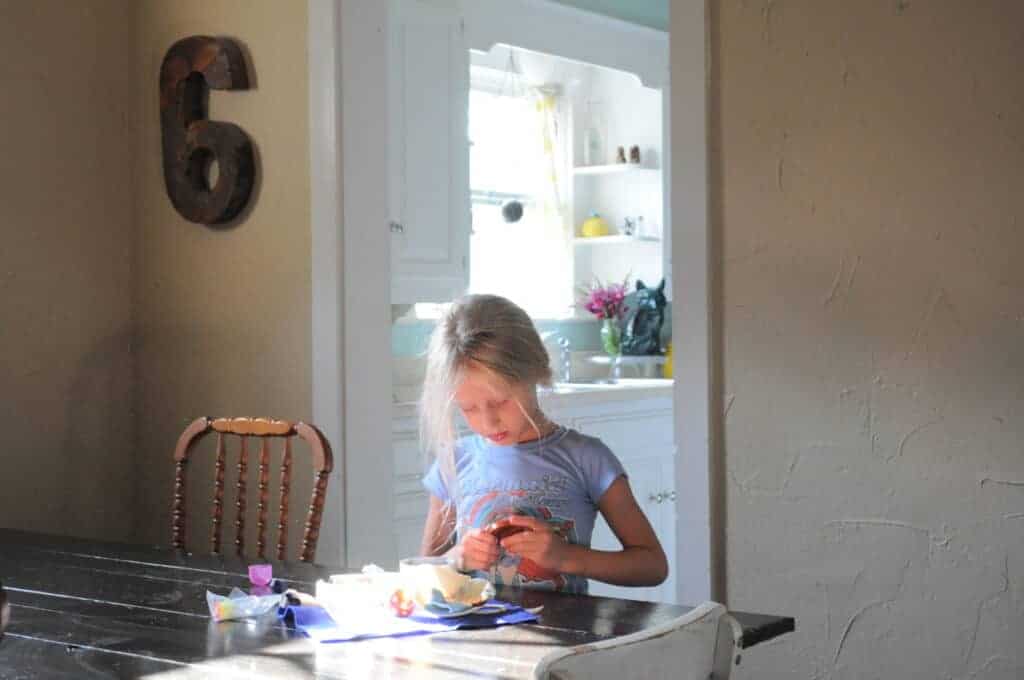
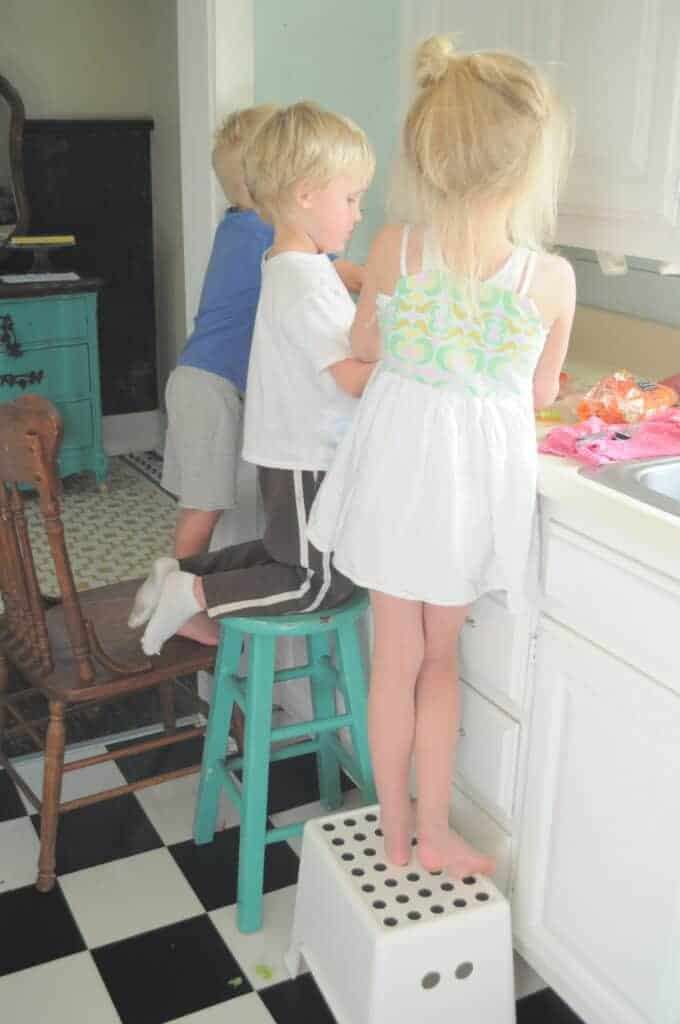

The Dining Room
Our Dining Room in our little blue cottage was not much bigger than the kitchen itself. I re-arranged that space a LOT! With each new season, I would arrange things to work for that season of life. Here are a few tips on how we made the most of that space:
- A Table that Extends: we had a dining room table that extended out if we ever had company. It made for a tight dinner, but worked great! When it was just our family of six, we would take the extra table leaves out and leave it smaller.
- Furniture Pieces that are Multi-Purpose: I loved keeping painted dressers in my dining room area. They were a fun way to store extra kitchen items, homeschool supplies/books and also worked well as a buffet for serving food.
- Chalk Board Wall: can you tell I was on a chalkboard kick?! Our dining room also served as our homeschool room. The chalkboard came in handy!
- Picture Ledge: on top of the chalk board wall, I added a simple picture ledge to display some of my favorite photos. Again, making the most of the tiny space and making it feel homey.


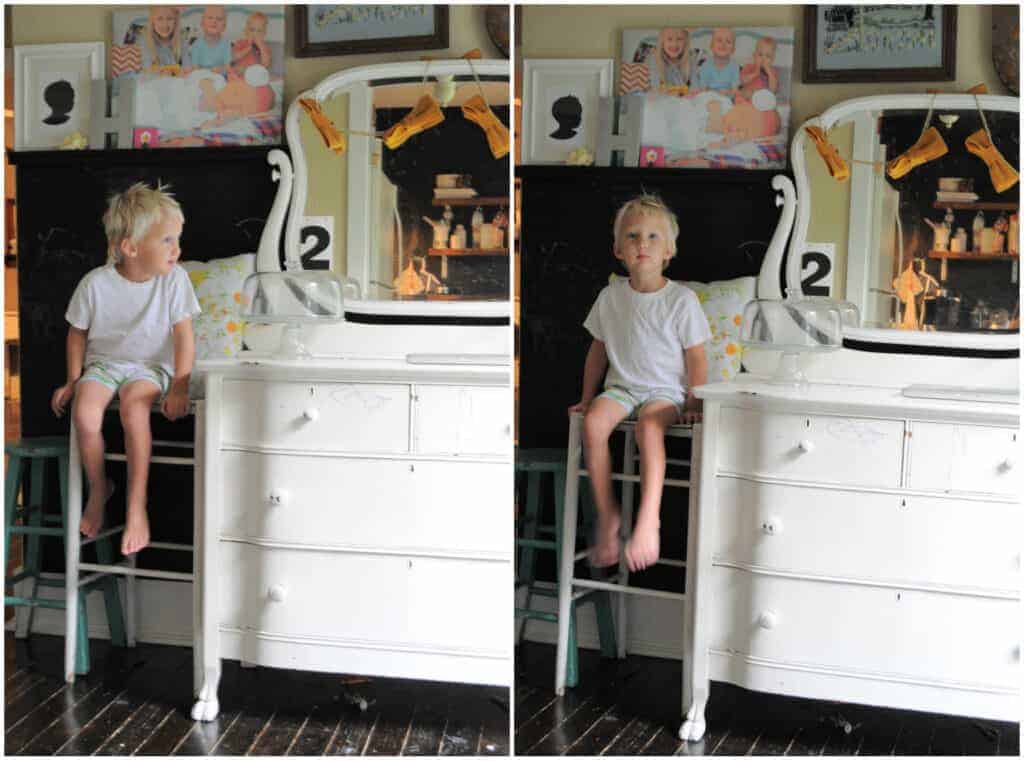


My oldest was around 8 when we sold this house and the youngest was 2.
It was 1,100 sq. ft. total. It had 2 bedrooms, 1 small bathroom, a kitchen, dining room, living room and tiny laundry/storage room.
We truly lived with less! If we didn’t need it, it was donated. I was constantly filtering out things that weren’t serving a purpose anymore.
Nope. We honestly didn’t have the money for a Kitchenaid mixer back then. I used the same hand mixer for the first ten years of our marriage. We learned to live with very little and were happy as can be!
I honestly didn’t have a ton of kitchen appliances. I used a toaster, blender and hand mixer. And that was it! There wasn’t enough space for extra appliances or gadgets.
Find a space for everything! Having clutter from counters kept the kitchen from feeling like it was swallowing me up.
The reason I kept our plates, cups, pans, etc. to a minimum was so that I would also have enough cabinet space to store our pantry food. I grocery shopped once a week and bought just what we needed. A few cabinets for food (plus what was in the refrigerator) was plenty of room! Also- baskets on top of the fridge also helped to store items like potatoes, onions and snacks. The baskets helped to keep the kitchen feeling organized and beautiful.
Yes- but would you believe it didn’t work? We didn’t have the funds to replace it at the time, so we just hand washed everything. In hinds sight, I probably should have removed the dishwasher and used that space for more storage!
My Favorite Small Space Items
- Cake Stand: One of my favorite additions to any kitchen (big or small) is a cake stand next to my kitchen sink. I can keep my hand soap, dish soap and a little scrub brush tucked neatly on top of it.
- Hand Wash and Dish Soap Dispenser: To keep a small space feeling cozy, I love putting my hand soap and dish soap into glass bottles.
- Shelves and Mug Rack: This mug rack and shelf is the perfect addition to any small space! Display your favorite items on top and store your mugs and dish towels on the bottom.
- Dish Towels: Having matching dish towels made my small kitchen feel organized. They were an inexpensive way to help the kitchen feel put together.
- Baskets: the top of your fridge is prime real estate for storing items that would otherwise be an eye sore. Think of items that are bulky and take up a lot of space. Potatoes, onions, chip bags, snacks, etc.
- Simple Plates: Having one set of white plates was perfect for every season. I didn’t have to worry about patterns/colors clashing with holidays or seasons. Keep it simple with your colors and you’ll find that you don’t need a million different dishes and serving platters.
- Hanging Fruit Basket: I bought mine at a thrift shop, but the one I have linked looks just like it! This was a game changer for storing our fruit and produce. It kept my counters clear and also added a little bit of charm to the kitchen.
- Spice Storage: I used (and still use) a four tier spice rack for storing my spices. It makes it easy to browse what you have and store them with very little space used.
PIN FOR LATER


Love this Your home was beautiful I love all the pics and great ideas thank you
Thank you Chrissy!!
This original post was how I found your blog! At the time, we were living in a small apartment with our 2 boys while my husband was in school and your blog series was so encouraging as I learned to love that little apartment! I’m excited to re-read through it all!
I love that you’ve been reading the blog since then!!!
So sweet, thanks for sharing. I feel like we have been unintentionally downsizing from small space to smaller space for a few years and am always looking for inspiration on how to make it cozy.
Also, on the dishwasher comment…I’ve talked to multiple people who lived in smaller spaces who said they USED their dishwasher for storage space. One said it was broken so they used it to store plates and things and another said their cupboards were too narrow/short so they put their big pots in the (totally usable) dishwasher and chose to hand wash.
Now that’s a GREAT idea!!!
What a fun post! I was around the first time you did this series, and it is fun to revisit it today! I still have the shelves with brackets in my kitchen that was an inspiration from yours!
Oh I love that!!!