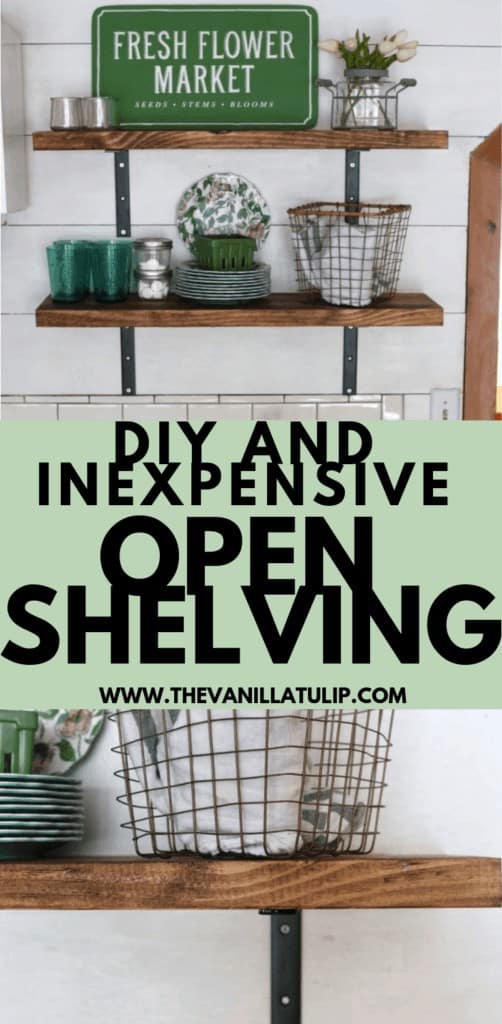
DIY and Inexpensive Open Shelving
I’m pretty sure there are two teams when it comes to open shelving in a kitchen. Team “I would hate open shelving” and Team “Give me all the open shelving”. I am the latter and absolutely LOVE open shelving! It can bring such great visual interest to a space and is perfect for showing off your favorite items. I thought it would be fun to show you a DIY and Inexpensive Open Shelving Tutorial.
Years ago when we lived in our little blue cottage we put up two open shelves in my tiny kitchen. I loved styling those shelves! I used some salvaged wood I had found in someone’s trash (does anyone else love for finding treasures in the trash?!) and some inexpensive brackets from the hardware store. You can see the shelves here.
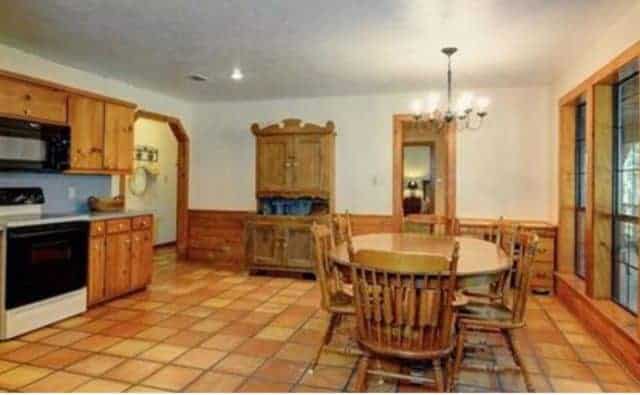
When we bought our 1980’s ranch style home last year, they had upper cabinets. Instead of jumping right in and ripping them out, I decided I would see if I was a cabinet kind of gal first. After a few months, I began to get the itch to style some open shelves. I’m definitely not an upper cabinet kind of gal :). Since ripping out all of the upper cabinets wasn’t something we had time for, we started with a small section to the right of the stove.
This project cost me less than $50 for two statement shelves (the only thing I had to purchase was the wood and stain) and only took a few hours to to do.
*A before picture of our kitchen from realtor.com. Notice the lovely blue counters/backsplash. Yikes!*
MATERIALS:
Wood planks the length and width you would like them
Brackets
Screws
Drill
Spray Paint
Stain
Polyurethane
Level
PICK OUT YOUR WOOD/
For your wood planks there are several options. Obviously everyone’s need is different when it comes to the dimensions of your shelves. You’ll need to figure out how long you want them and what width you would like. Once you have that idea, then head to your local hardware store, Lowes or Home Depot. I knew I wanted a thicker piece of wood for my shelves. So, I just walked the aisles of Lowes until I found the thickeness I desired. A little math showed me that I could get two boards out of one of the longer pieces of wood (this is usually the most cost effective route). Lowes and Home Depot both have free services where you can get the associates to cut your wood down to the desired size. I always utilize this service instead of cutting it at home! Another reason why I have them cut it down, was so that it would fit easily into my vehicle for the ride home. 🙂
STAIN THE WOOD/
Now that you have your wood and it’s cut to the desired length, it’s time to get it prepped and ready to hang. I wanted mine to have a darker stain to them. I chose this stain and used two coats on the wood. You’ll then want to finish it off with a coat of Poly to seal them.
A few tips for staining… you can use an old rag to wipe on the stain or a paint brush. Both work great! Once I’ve put my stain on, I’ll use an old rag to wipe away any excess. Allow it to dry 20-30 minutes in between each coat of stain. Depending on how dark you want it (or what shade of stain you’re using), you may only need one coat. You’ll just keep repeating the process of staining/wiping until you’ve achieved the look you want. Once you have your shelves the perfect color, you’ll want to add a coat of Poly to seal them.
Full disclosure: I am not a plan ahead type of person. I love to wing it and just throw stuff together. SO- I actually hung my shelves first then stained them… don’t be like me haha! I ended up getting stain on the wall and had to paint over it. Oops!
PAINT THE BRACKETS/
To keep the cost of this project down, I just purchased these stainless steel metal brackets. Two coats of this black spray paint and they were exactly what I had envisioned! It’s up to you whether or not you want to paint the heads of your screws as well. Now that I’m looking back at my photos, I think I’ll go back in and add a touch of black to the tops of them.
TIME TO HANG THEM/
You’ll want to figure out where you want your shelves to go first. Mark that area. I’m not sure if there is a correct order when it comes to hanging shelves, but I chose to attach the brackets to my piece of wood FIRST. Remember, I’m just a DIY mom winging it over here 🙂 .
Once you’ve attached your brackets to your piece of wood, it’s time to hang them on the wall! I hung the bottom shelf first and placed a level on top to make sure it was sitting evenly. Then I screwed it into the wall! Repeat the process for shelf number two.
And that’s it! A fairly easy and inexpensive way to add open shelving to any area of your home!


You have done such an amazing job with redecorating and I LOVE this idea!